One of the key tools available on HubSpot is the chatbot, which can be used to enhance customer service, boost lead generation, and improve overall user experience.
Let's understand what is a Chatflow first.
What is Chatflow?
A chatflow in HubSpot is a series of messages that guide a conversation with a website visitor or customer through the HubSpot chat widget. Chatflows are created using a drag-and-drop builder and can be customized to match your brand and messaging.
Chatflows can be used to:
- Qualify leads: Ask questions to understand a visitor's needs and interests and qualify them as potential leads.
- Provide support: Offer assistance to website visitors with their questions or issues.
- Schedule meetings: Help visitors schedule meetings with your sales or support team.
- Collect feedback: Gather customer feedback about their experience with your company or product.
- Generate leads: Collect contact information and other details from website visitors to generate leads.
Once a chatflow is created, it can be set up to trigger at specific times or based on certain actions, such as when a visitor lands on a specific page or clicks a button.
Also read: What is a Workflow in HubSpot?
Overall, chatflows are a powerful tool for engaging with website visitors and providing personalized support, which can help improve customer satisfaction and drive more sales.
How to Setup HubSpot Chatflow?
This article will take a step-by-step approach to learn the HubSpot chatbot setup.
Step 1: Log in to HubSpot and navigate to Conversations > Chatflows in the Dashboard

Once you have logged in to your HubSpot account, navigate to the Chatflows dashboard. You can do this by clicking on the “Conversations” tab and selecting “Chatflows” from the drop-down menu.
Step 2: Create a new chatflow
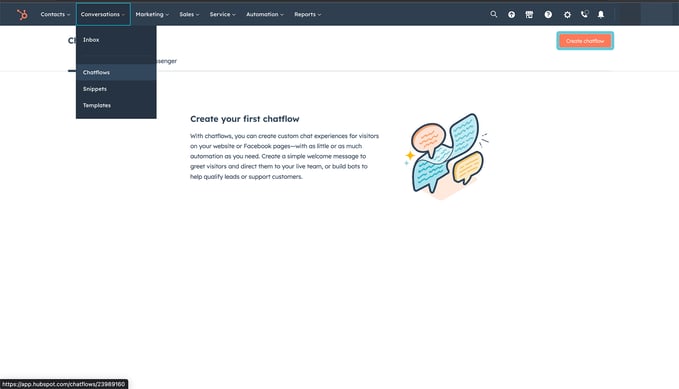
Click on the “Create Chatflow” button in the top-right corner of the dashboard to begin creating your new chatflow.
Step 3: Choose your chatflow type from: a) Chat & b) Facebook Messenger

We will understand how to set up Facebook Messenger Chatflow in a separate blog post. Choose Chatflow to start.
Step 4: Customize your chatflow
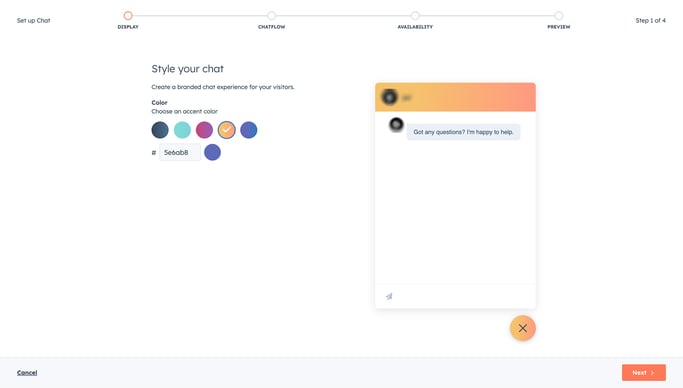
Once you have chosen your chatflow type, you will be taken to the customization screen. Here, you can customize the appearance of your chatflow by selecting a theme, adding your brand logo, and choosing a color scheme.
Step 5: Add your chatbot messages
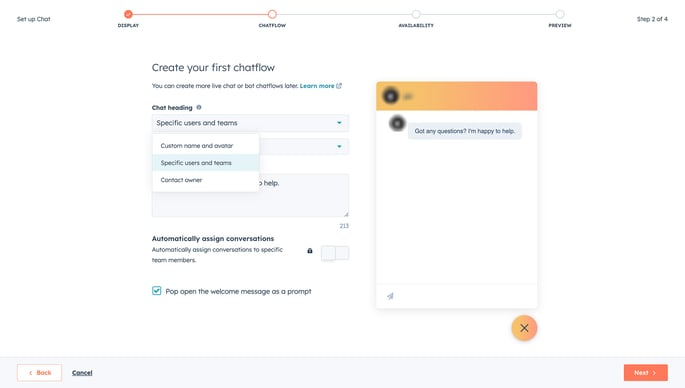
Once you have selected the color and style you will be taken to the add chat heading section. You can edit the Chat Heading with:
a) Custom Name and avatar
b) Specific Users and team
c) Contact Owner
Next, you will need to add the messages that your chatbot will send to users. These messages can be in the form of text, images, videos, or links. HubSpot’s chatflow builder allows you to create a chatbot flowchart that maps out the conversation between your chatbot and users.
Also read: Top 10 HubSpot Themes in 2023
Additionally, you can automatically assign the conversation to the responsible team member.
Step 6: Configure your chatbot settings
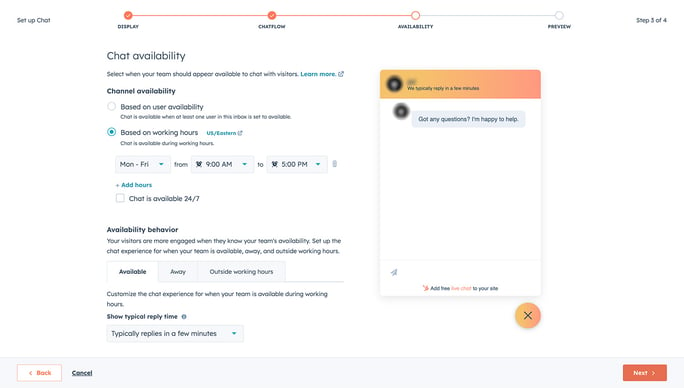
In the chatbot settings, you can configure the behavior of your chatbot. You can set up automatic responses, define when your chatbot is available to users, and create custom actions based on user responses.
HubSpot allows you to automate responses based on the availability of the team. You can choose between:
a) Based on team member status
b) Based on working hours
c) 24 x 7
Step 7: Test your chatbot
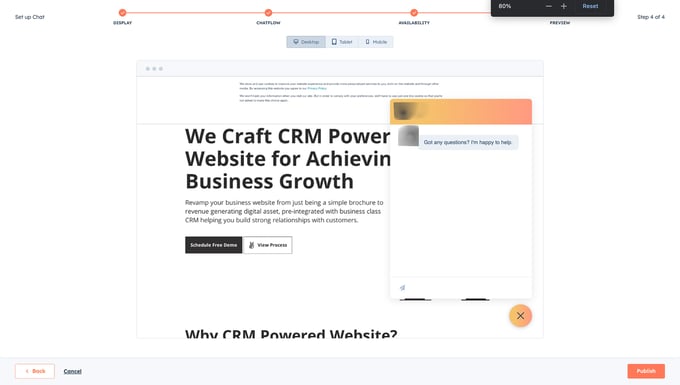
The final thing to do before you go live with your chatbot, is to test it thoroughly. HubSpot allows you to test your chatbot by previewing the chatbot on your website.
Step 8: Publish your chatbot
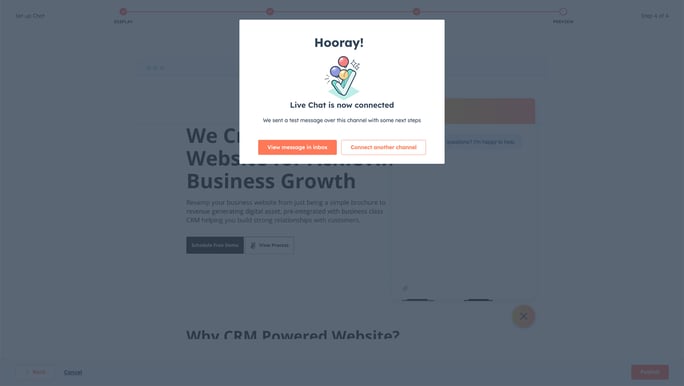
Once you are satisfied with your chatbot, it’s time to publish it. You can do this by clicking the “Publish” button in the chatflow builder. HubSpot will then generate a code snippet that you can add to your website to activate your chatbot.
Conclusion
In conclusion, setting up a HubSpot chatbot is a straightforward process that can be accomplished in just a few simple steps. However, if you are facing any issues feel free to contact us for our HubSpot services and we will help you set up Chatflow in HubSpot.
Enhance your customer service, generate leads, and improve overall user experience with HubSpot Chatflow in simple steps, and never miss a chance to connect with your customers.